
TAP System – Glue-Down Support Kit for Outdoor Porcelain Slabs (50 Pack)
$565.00
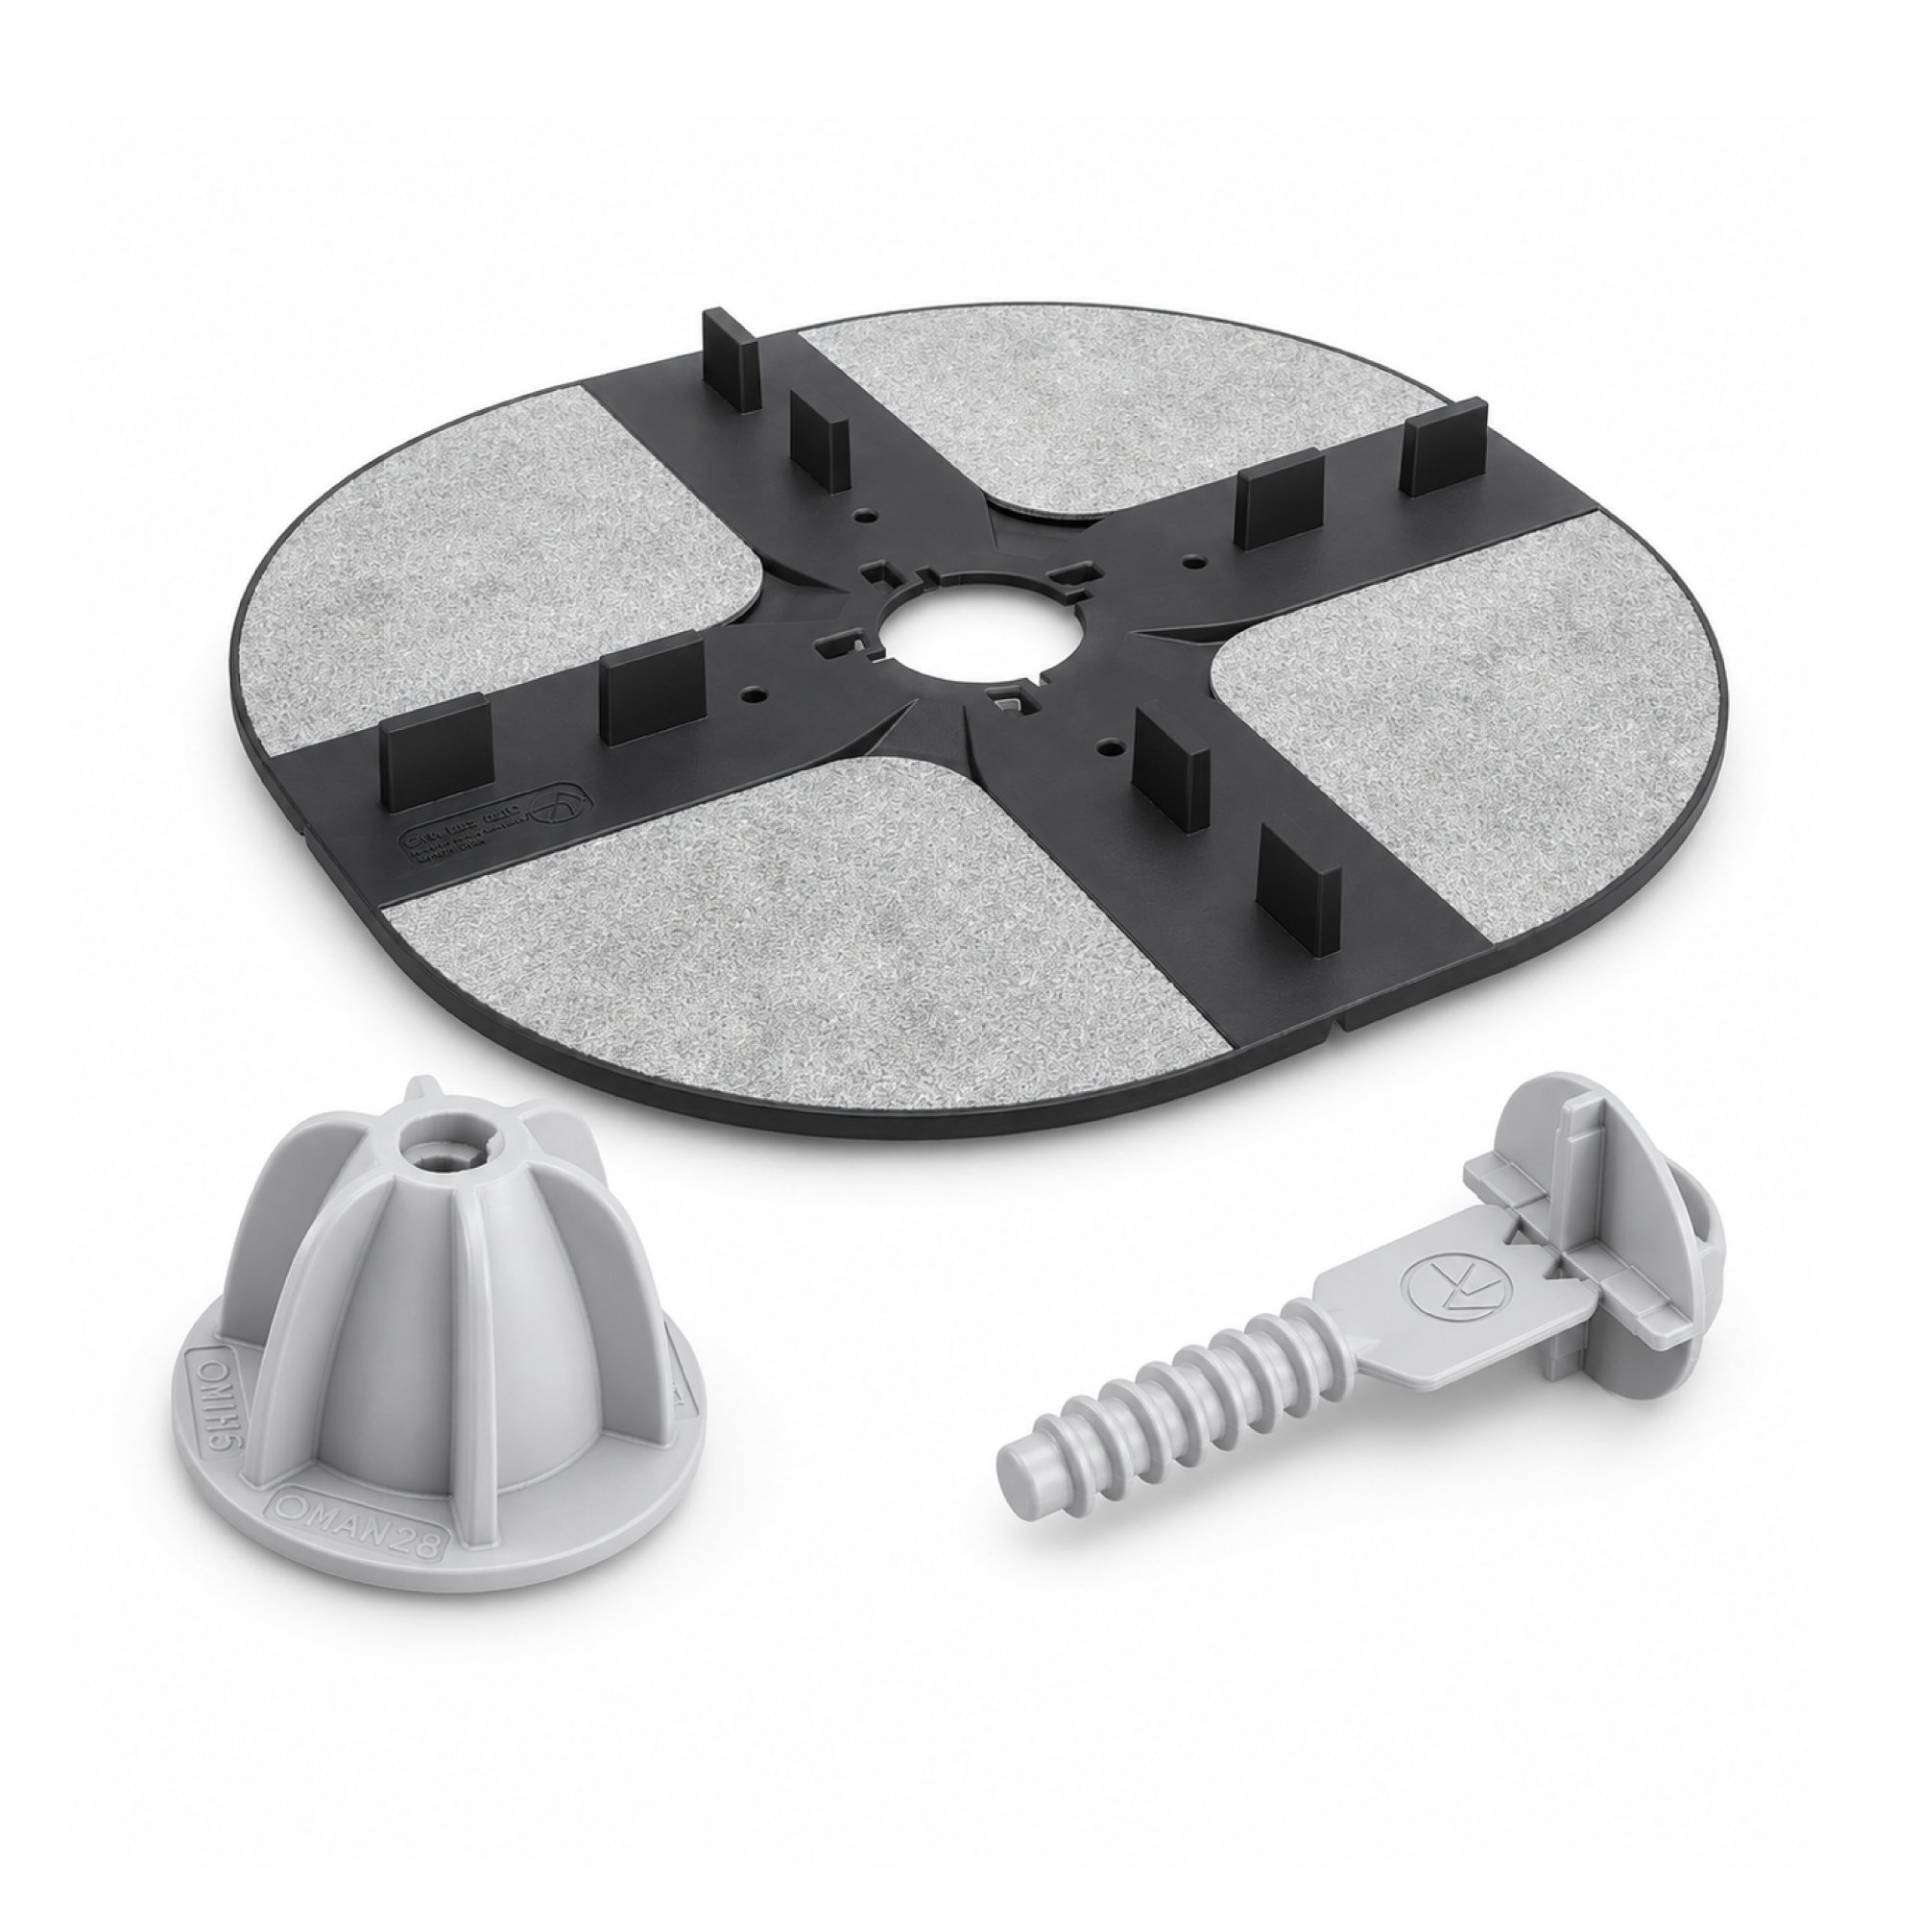
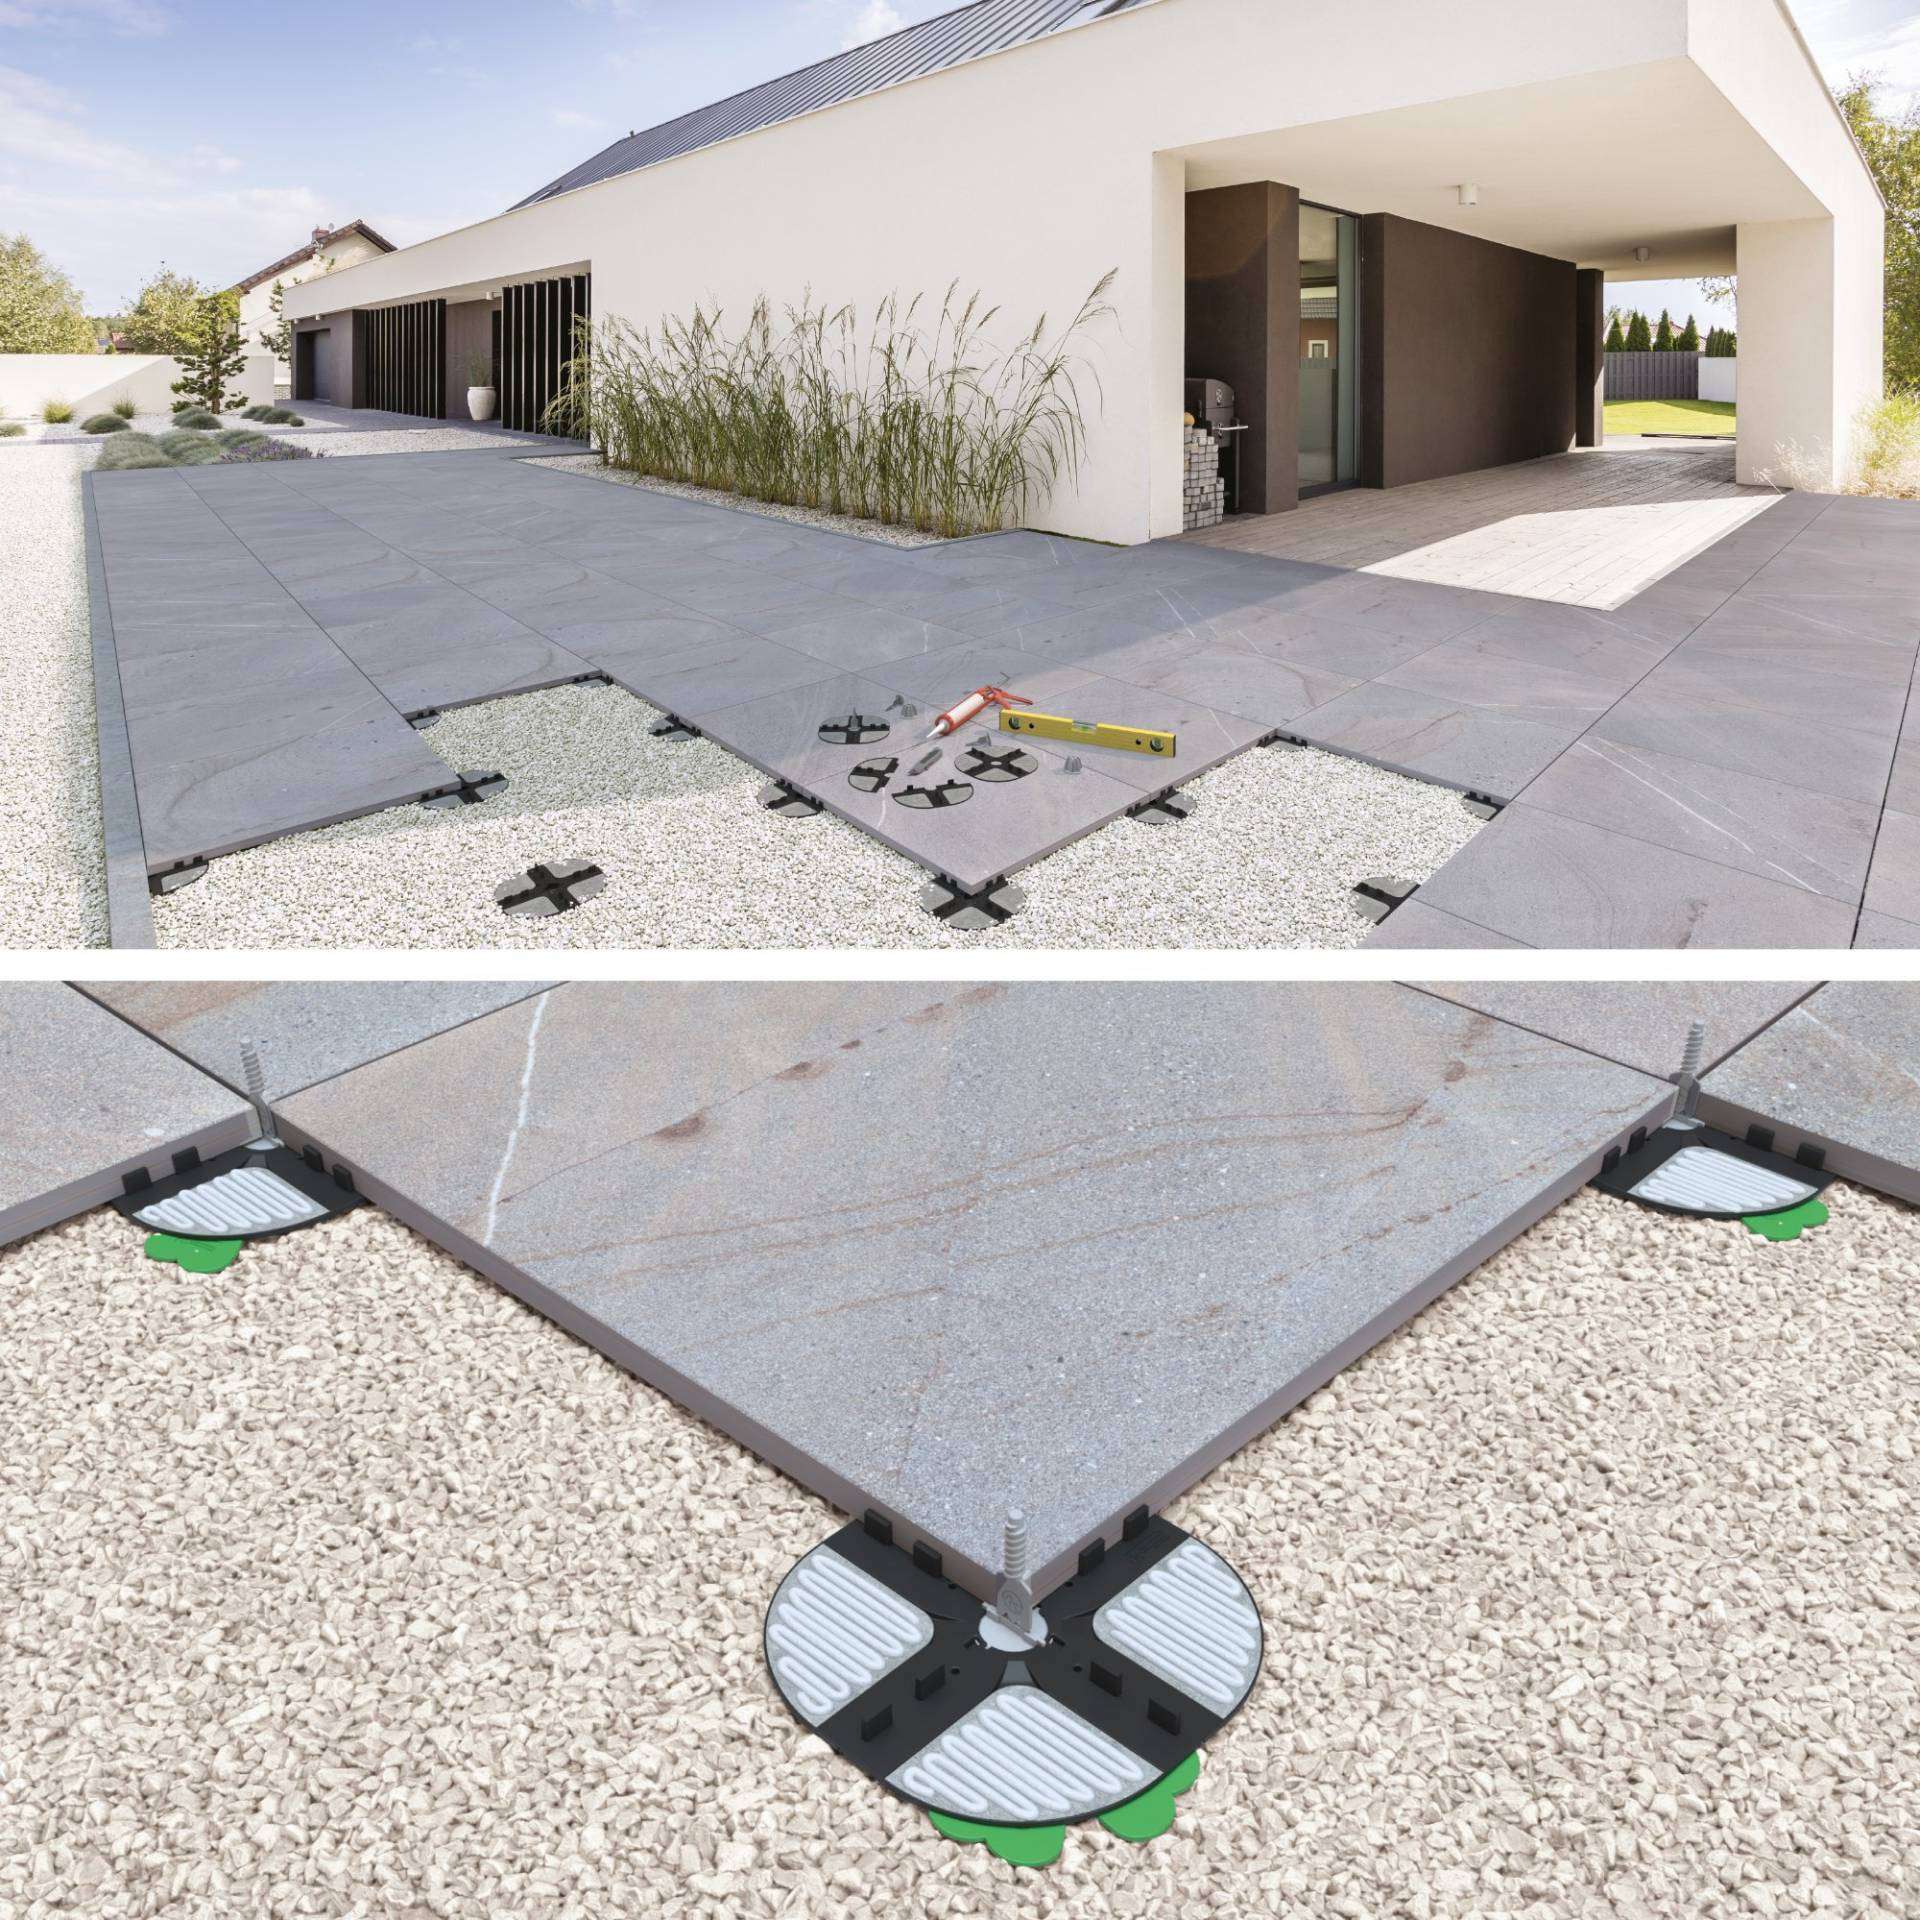
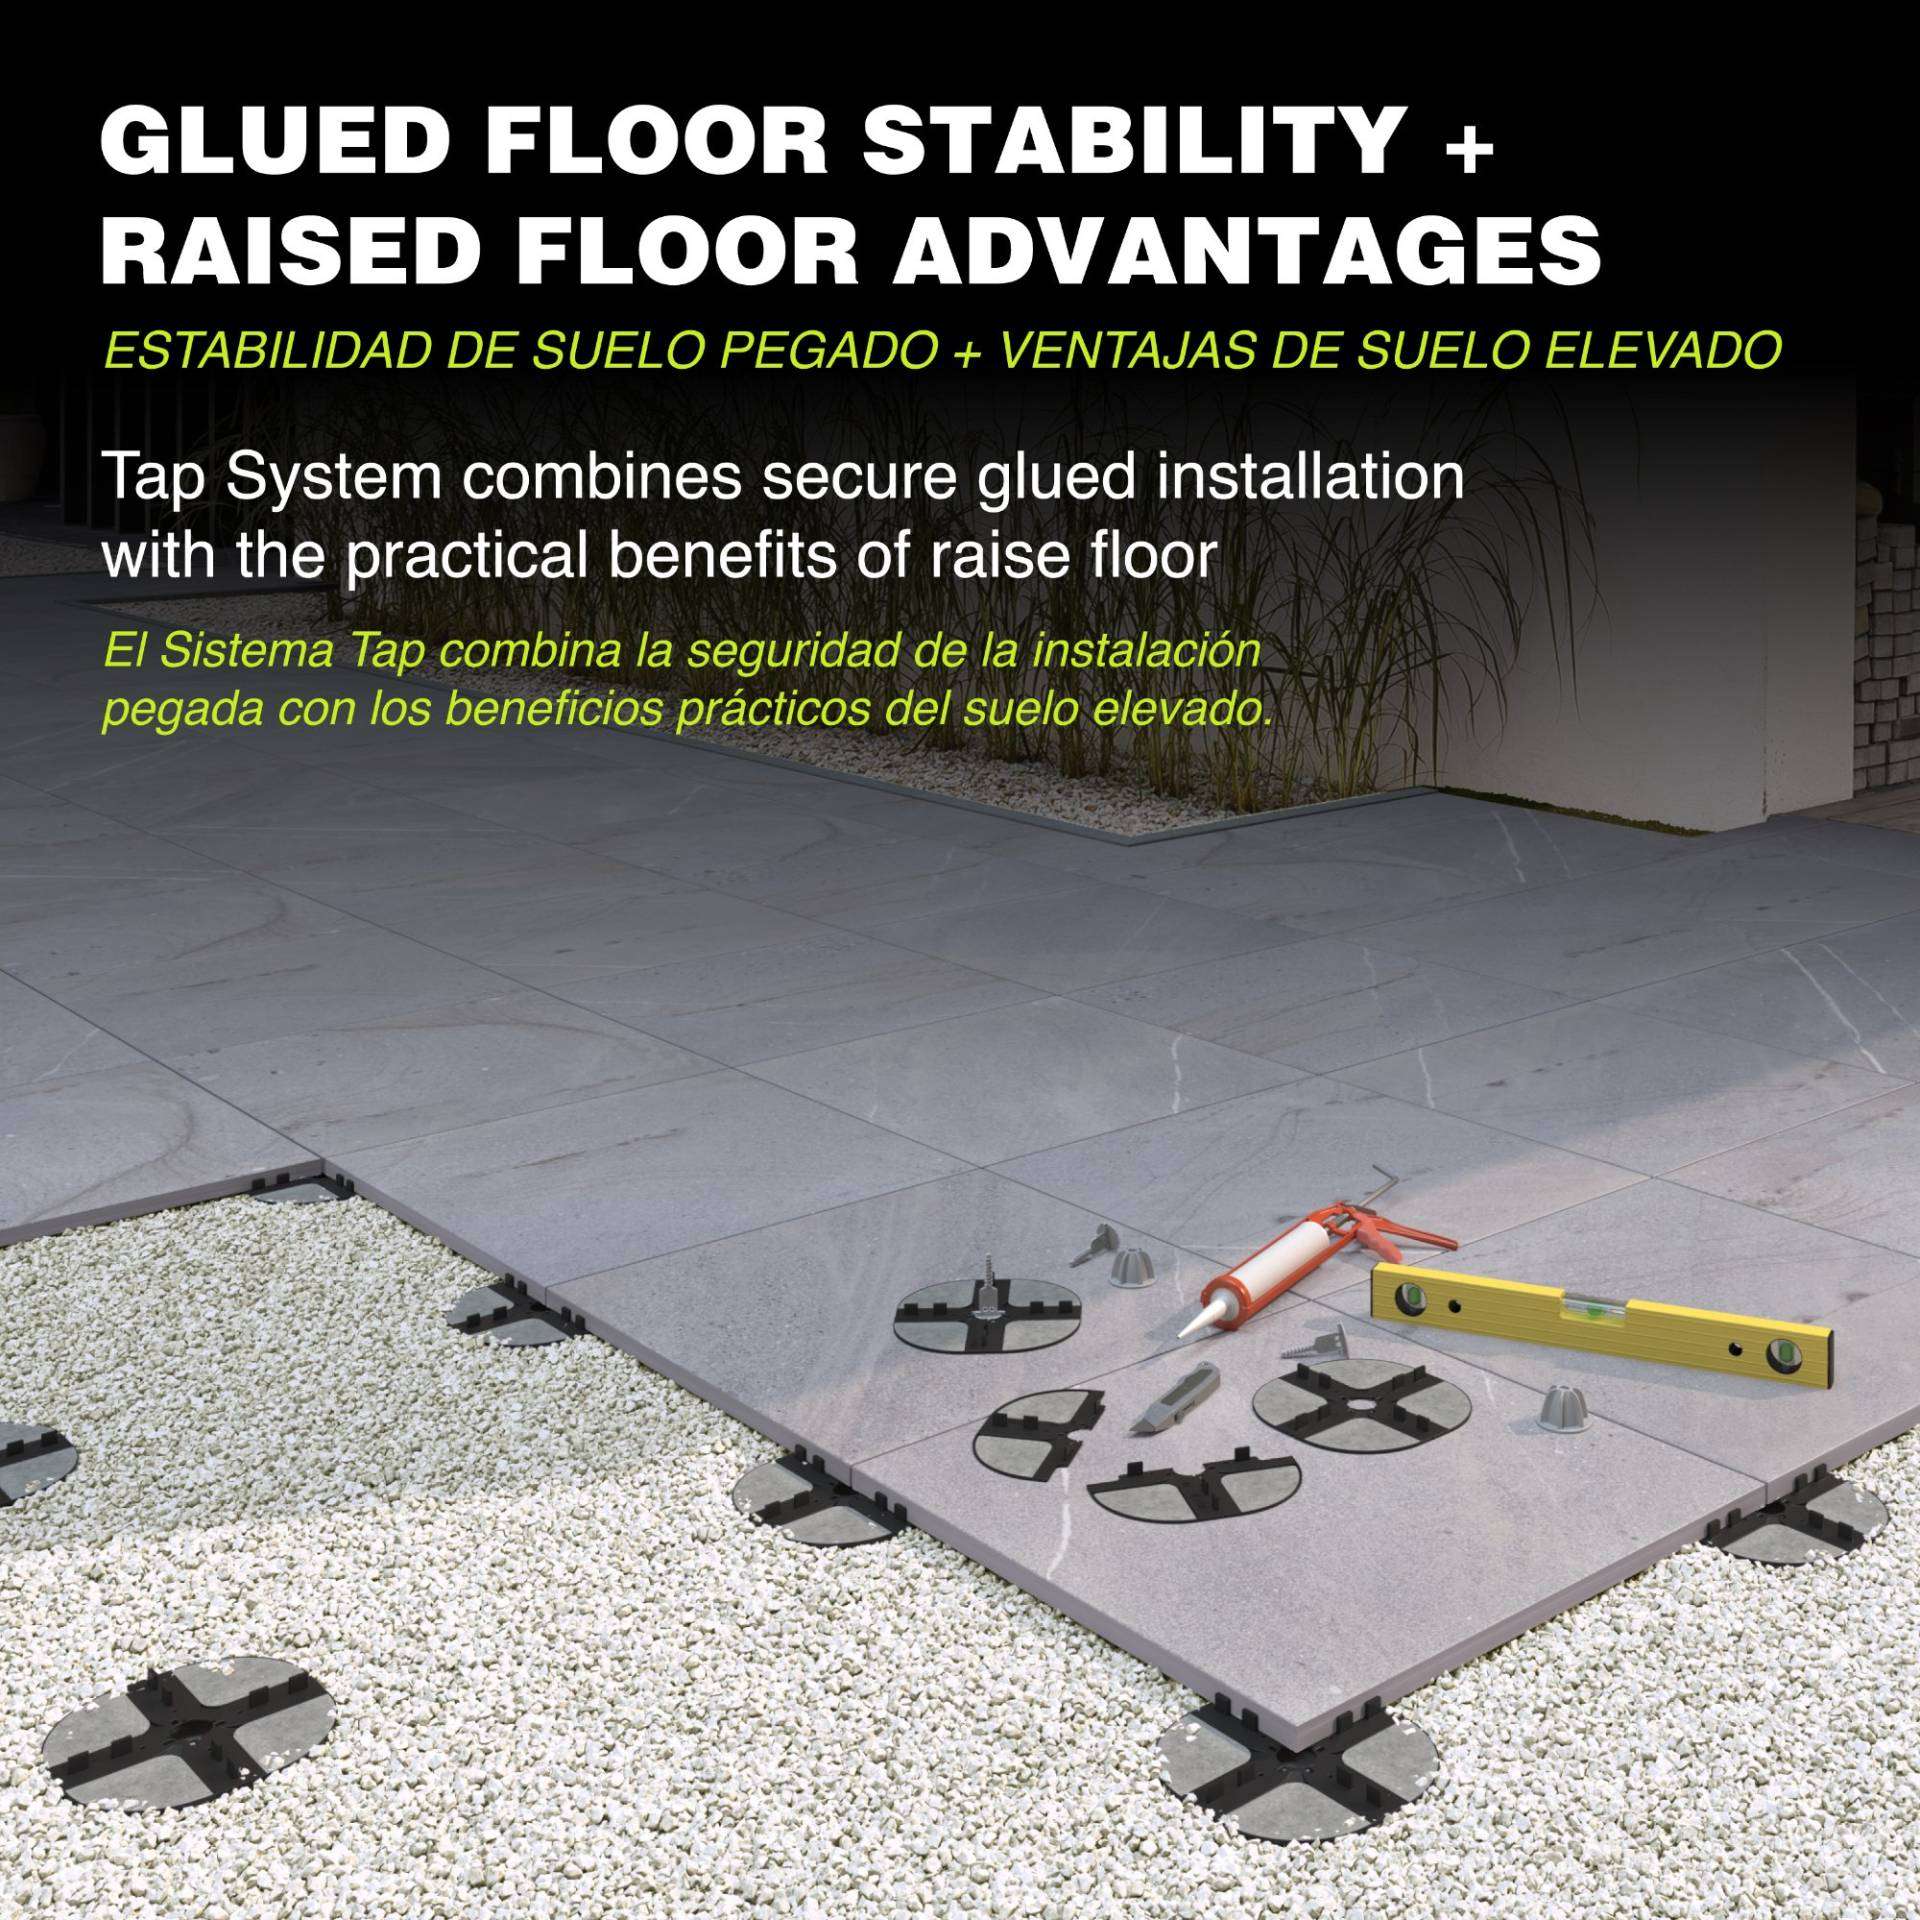
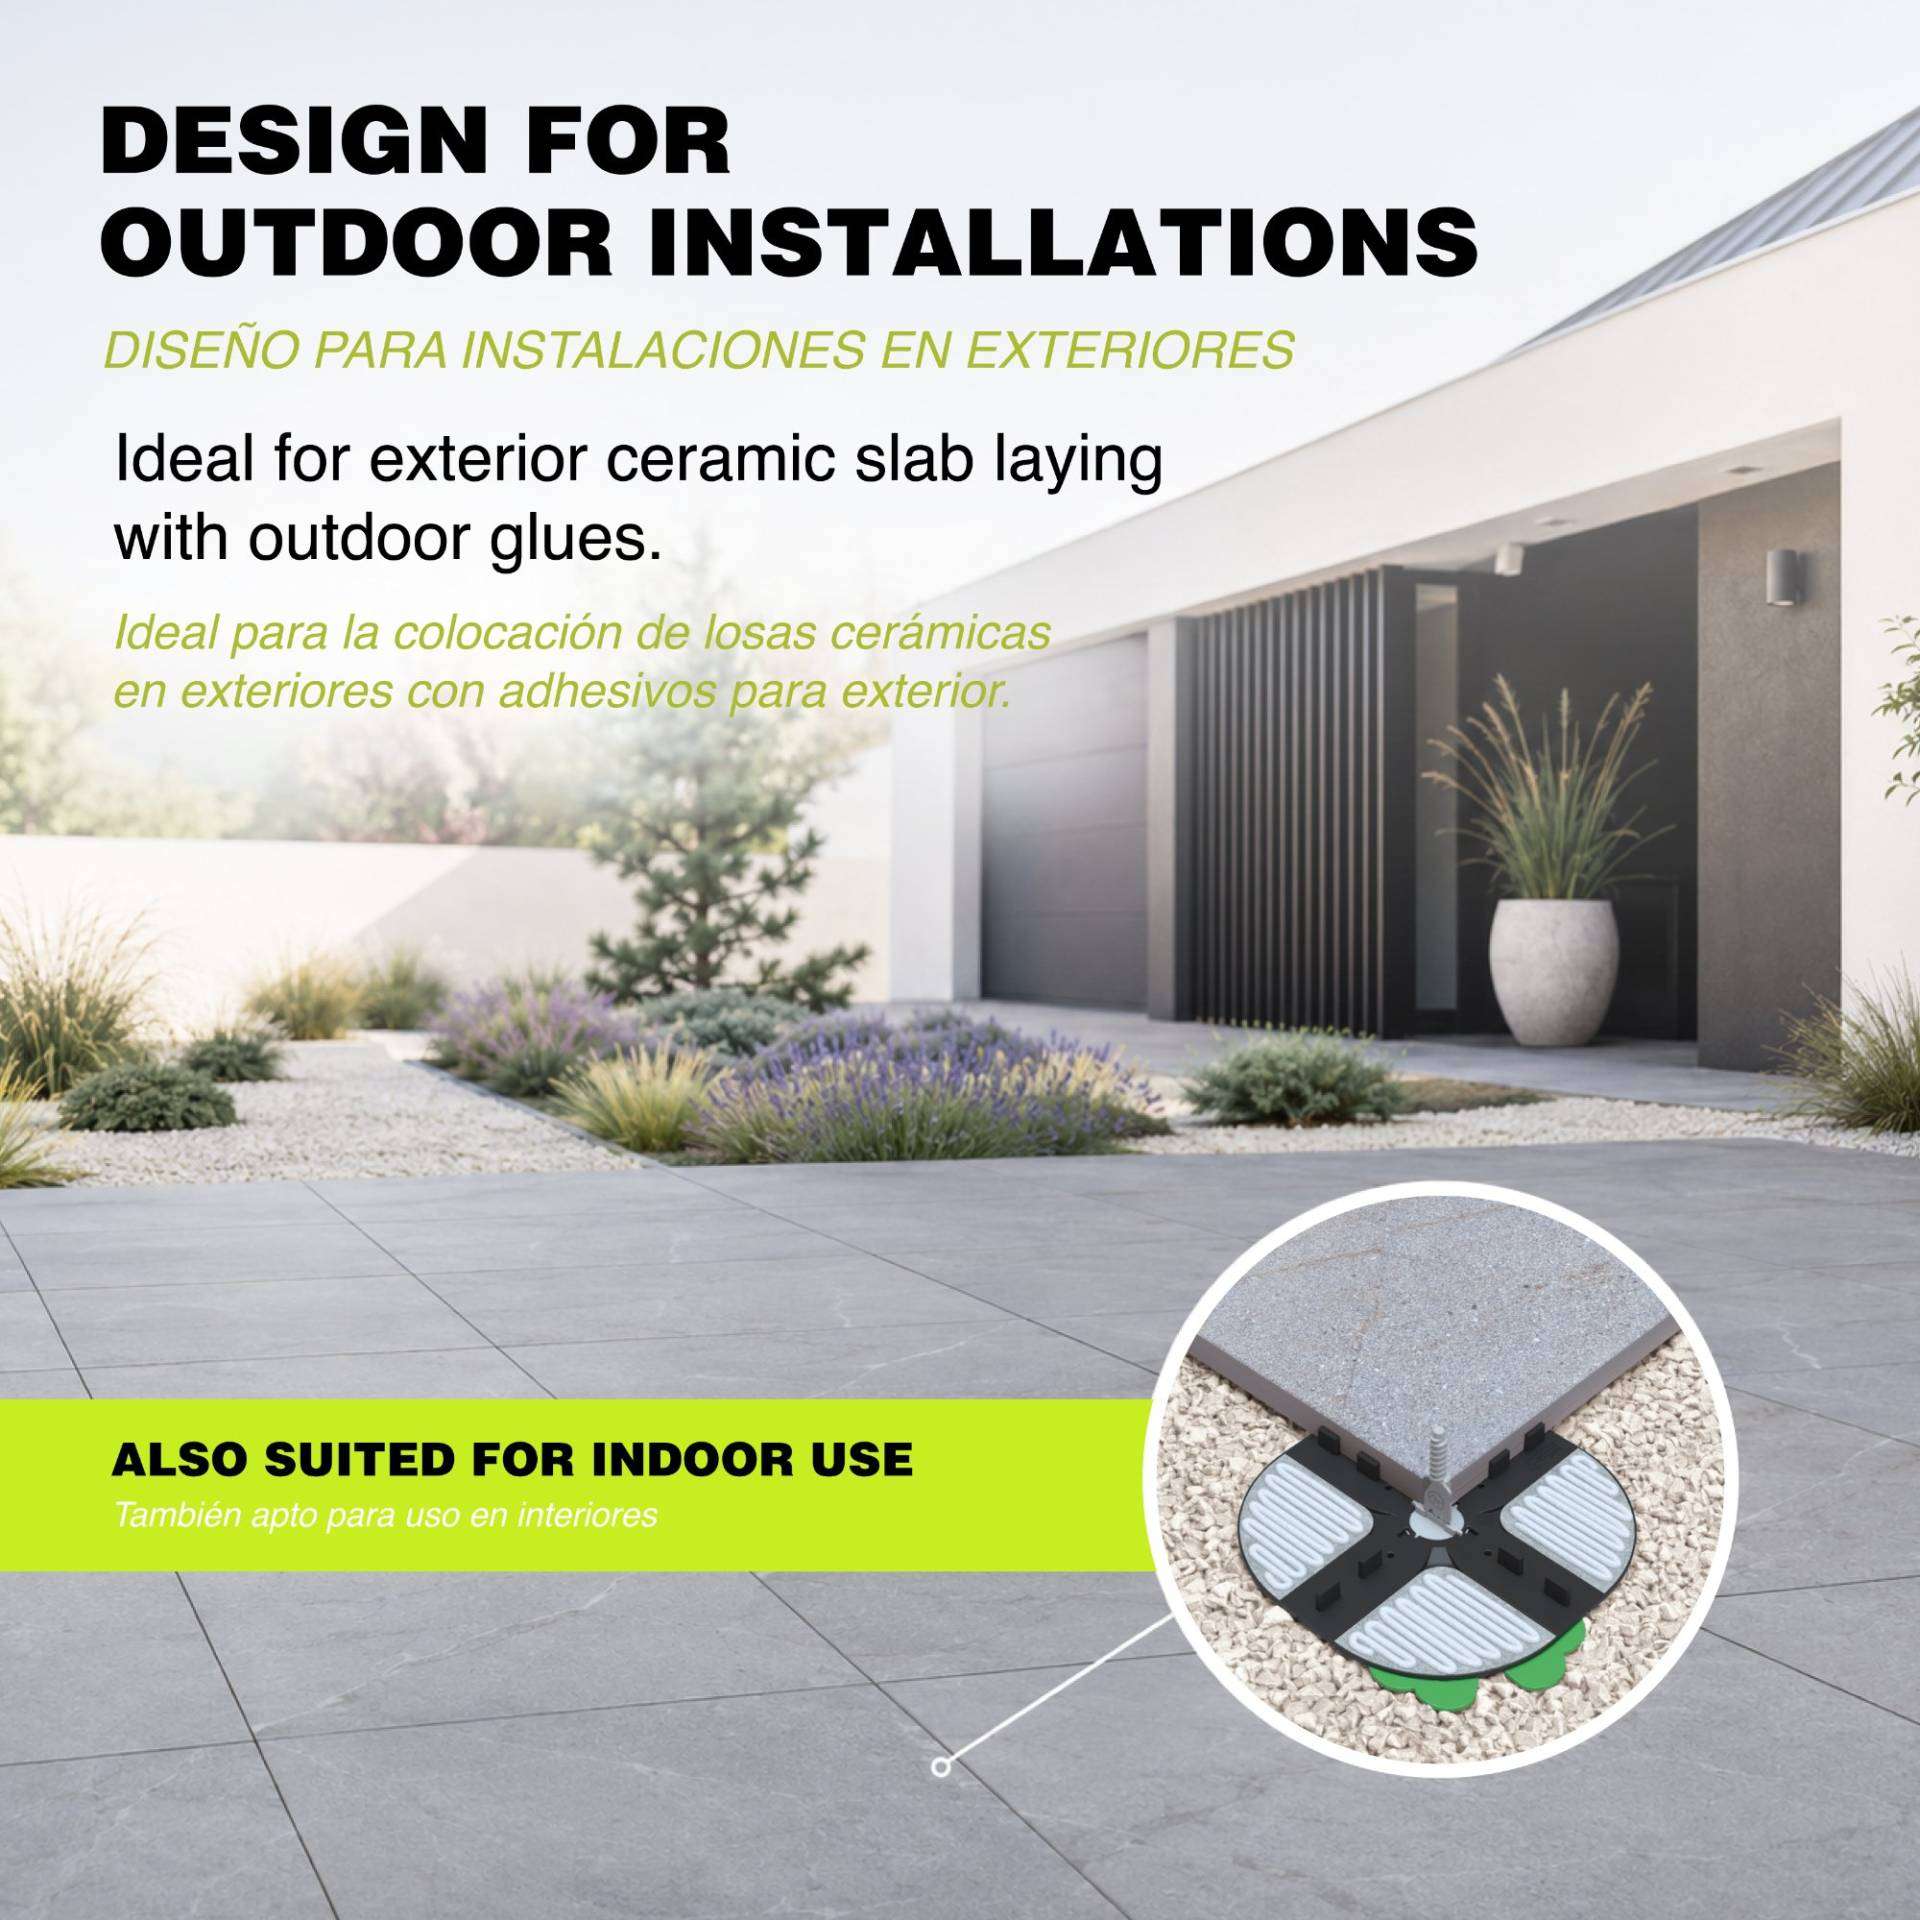
What it is: Low-profile support pads that go under outdoor porcelain slabs. Instead of setting slabs in a full bed of mortar, you glue each one to these pads — so it stays locked down like a glued floor, but sits just above the surface so rainwater drains away underneath.
Use it for: patios, terraces, balconies, walkways and pool surrounds, over a gravel or concrete base. Also suited for indoor use.
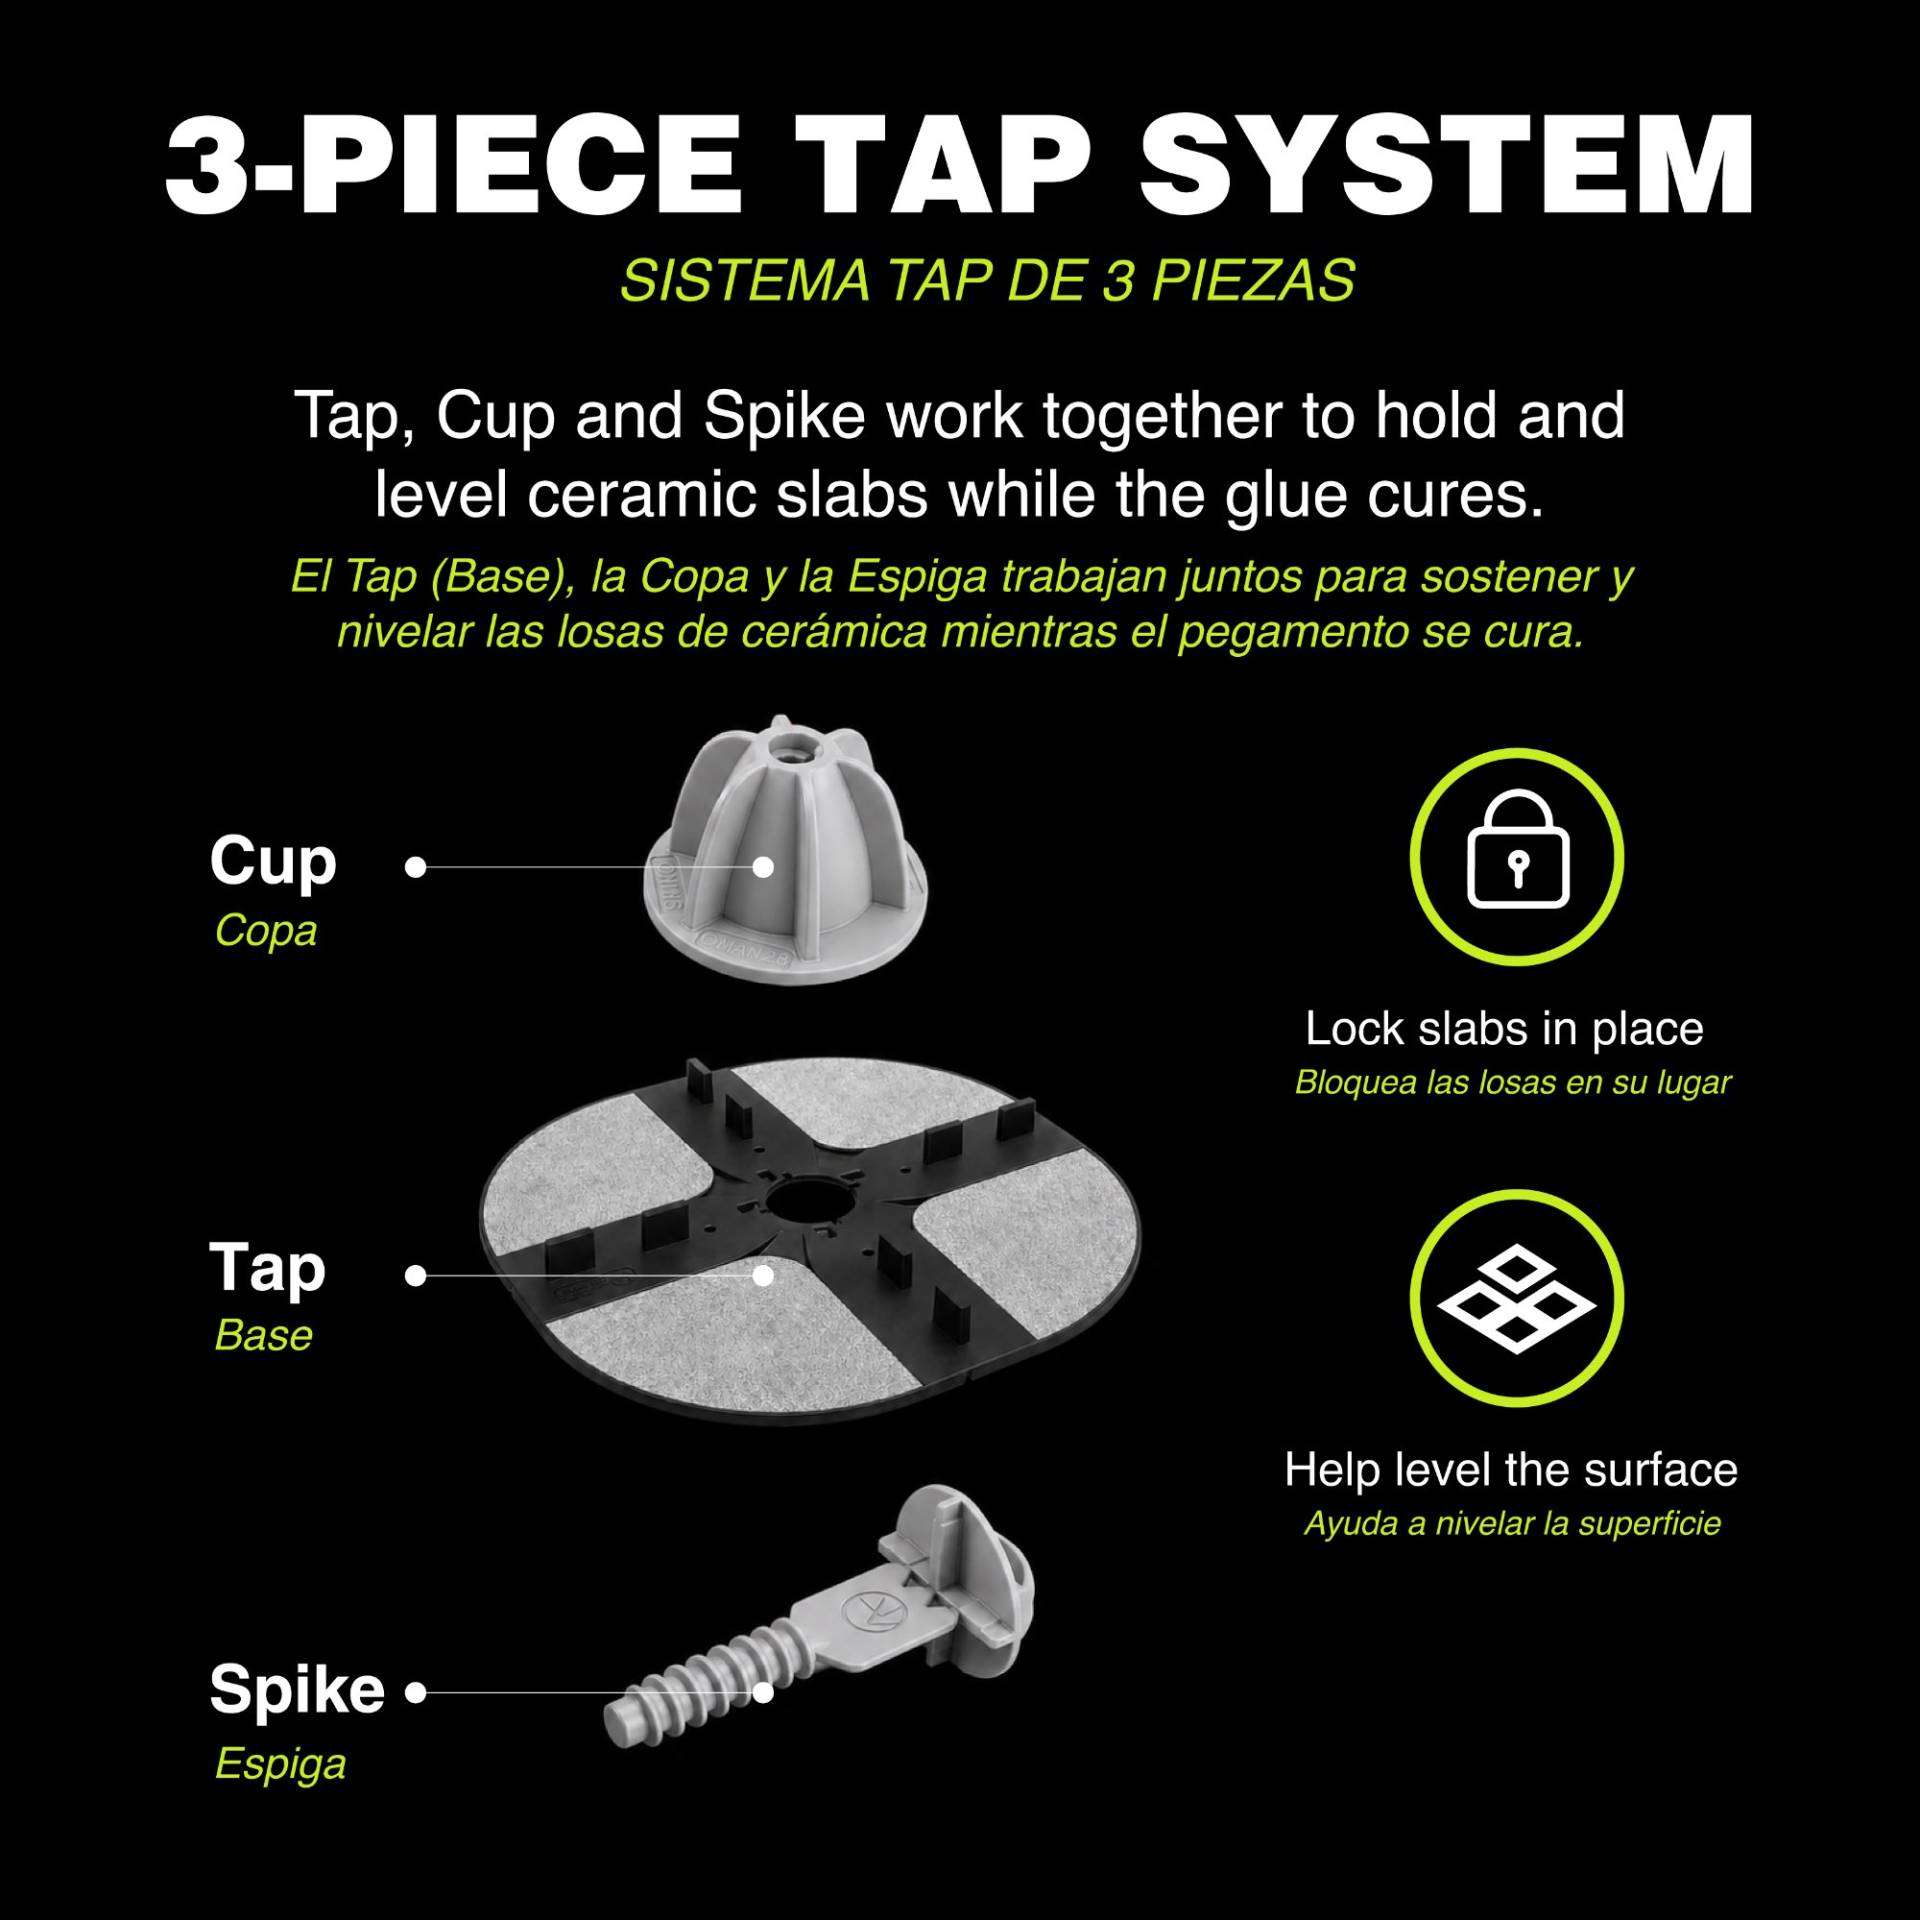
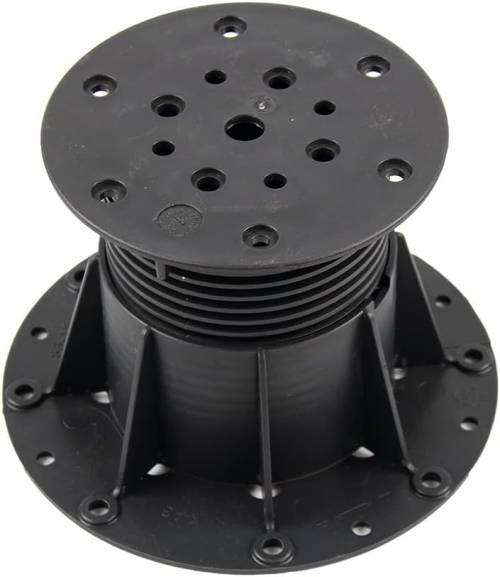
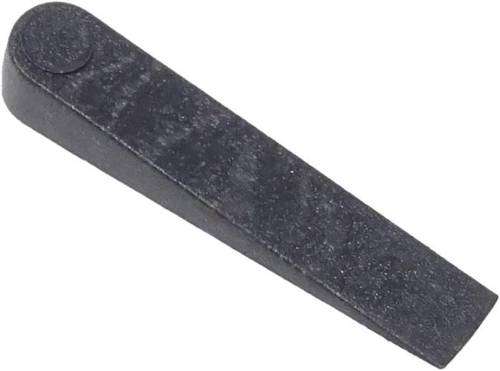
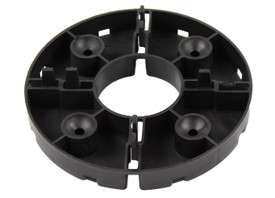
In the kit: 50 Tap supports, 50 Cups, 50 Spikes and 10 Lucky leveling shims.
Adhesive sold separately — we recommend Boss 185.
SKU:
Description
So what is it?
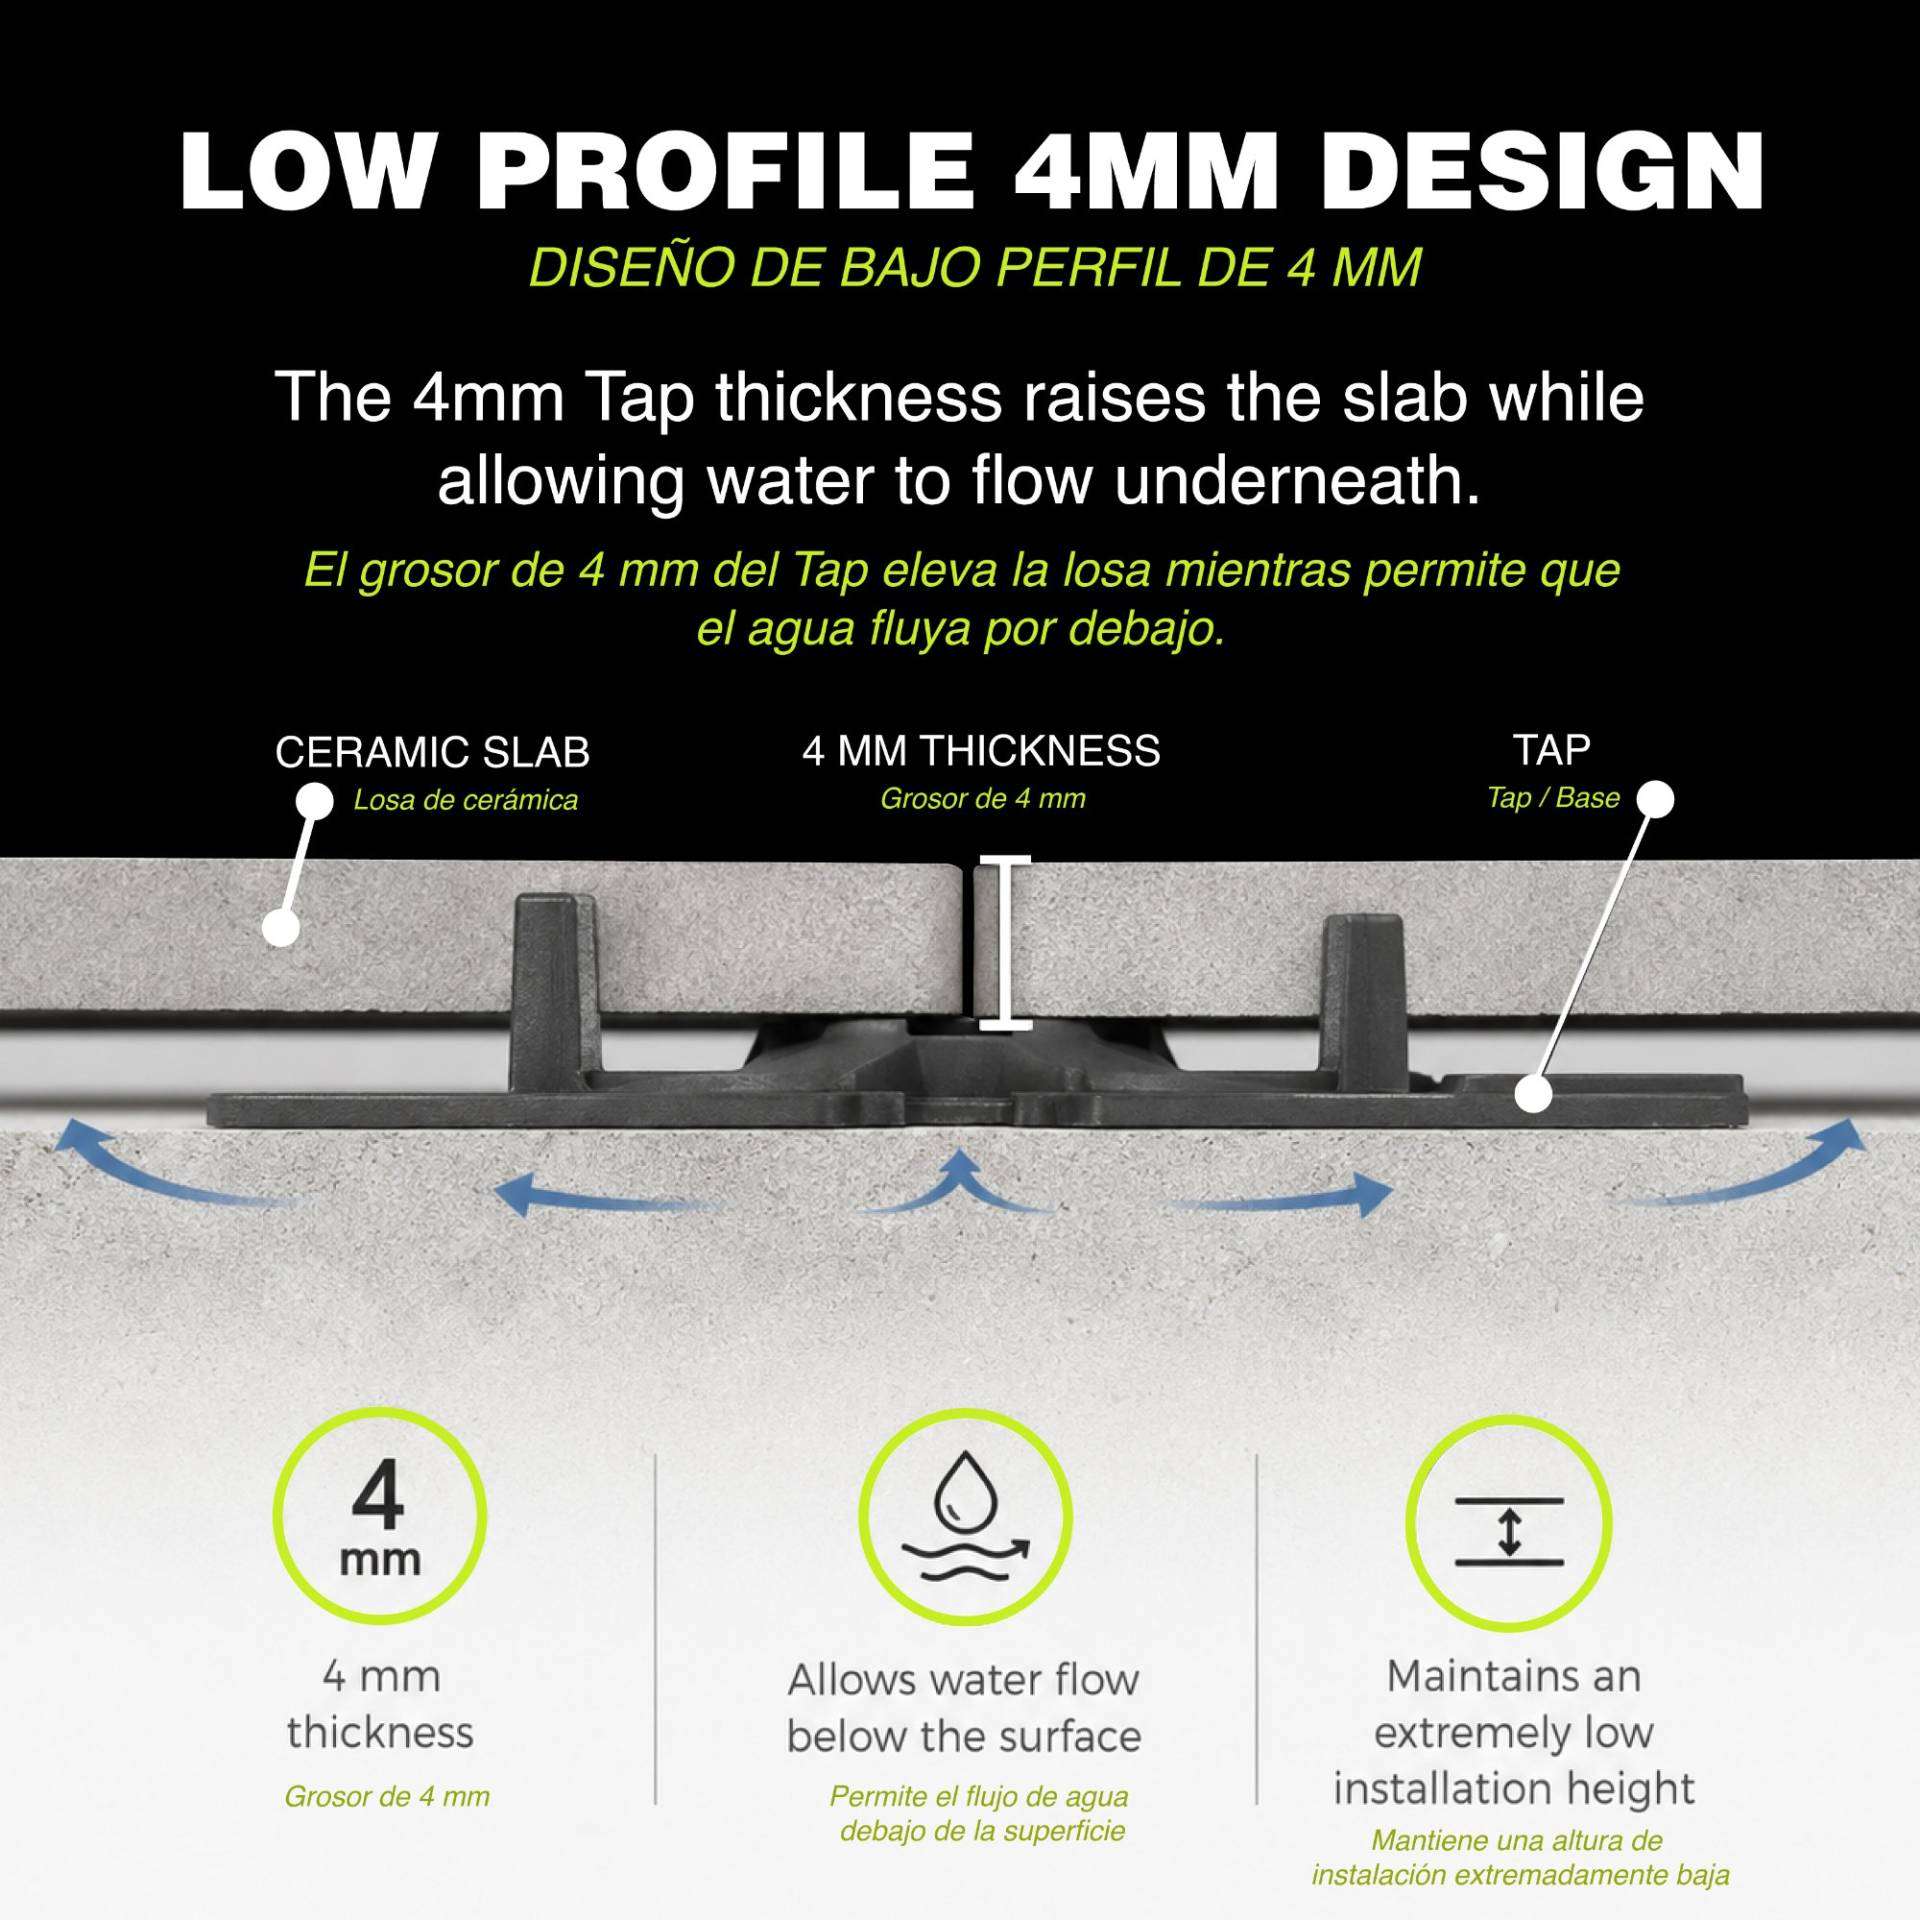
TAP System is a way to install porcelain slabs outdoors without a mortar bed. Each slab rests on round 4 mm support pads at its corners and is glued to them. You get a floor that’s solidly anchored and won’t shift or rock — with a thin gap underneath so water runs off instead of sitting under your tile.
Think of it as the best of both worlds: the stability of a glued floor and the drainage of a raised pedestal floor, at almost no added height.
See it in action
Watch the full install, start to finish, in under two minutes.
When would I use it?
- Patios and terraces — lay porcelain over compacted gravel or an existing concrete slab.
- Balconies and rooftops — where you need drainage and can’t add much height.
- Walkways and pool surrounds — slabs stay put underfoot, water drains away.
- Indoors — works there too.
Why not just mortar it down, or use regular pedestals?
Mortar beds trap water, take time and mess, and can crack as the weather changes. Loose-lay pedestals drain well, but slabs can lift, rattle or shift. TAP sits in the middle: each slab is glued to the support, so it’s locked in, while the 4 mm profile keeps water moving and your finished floor stays extremely low.
How it works
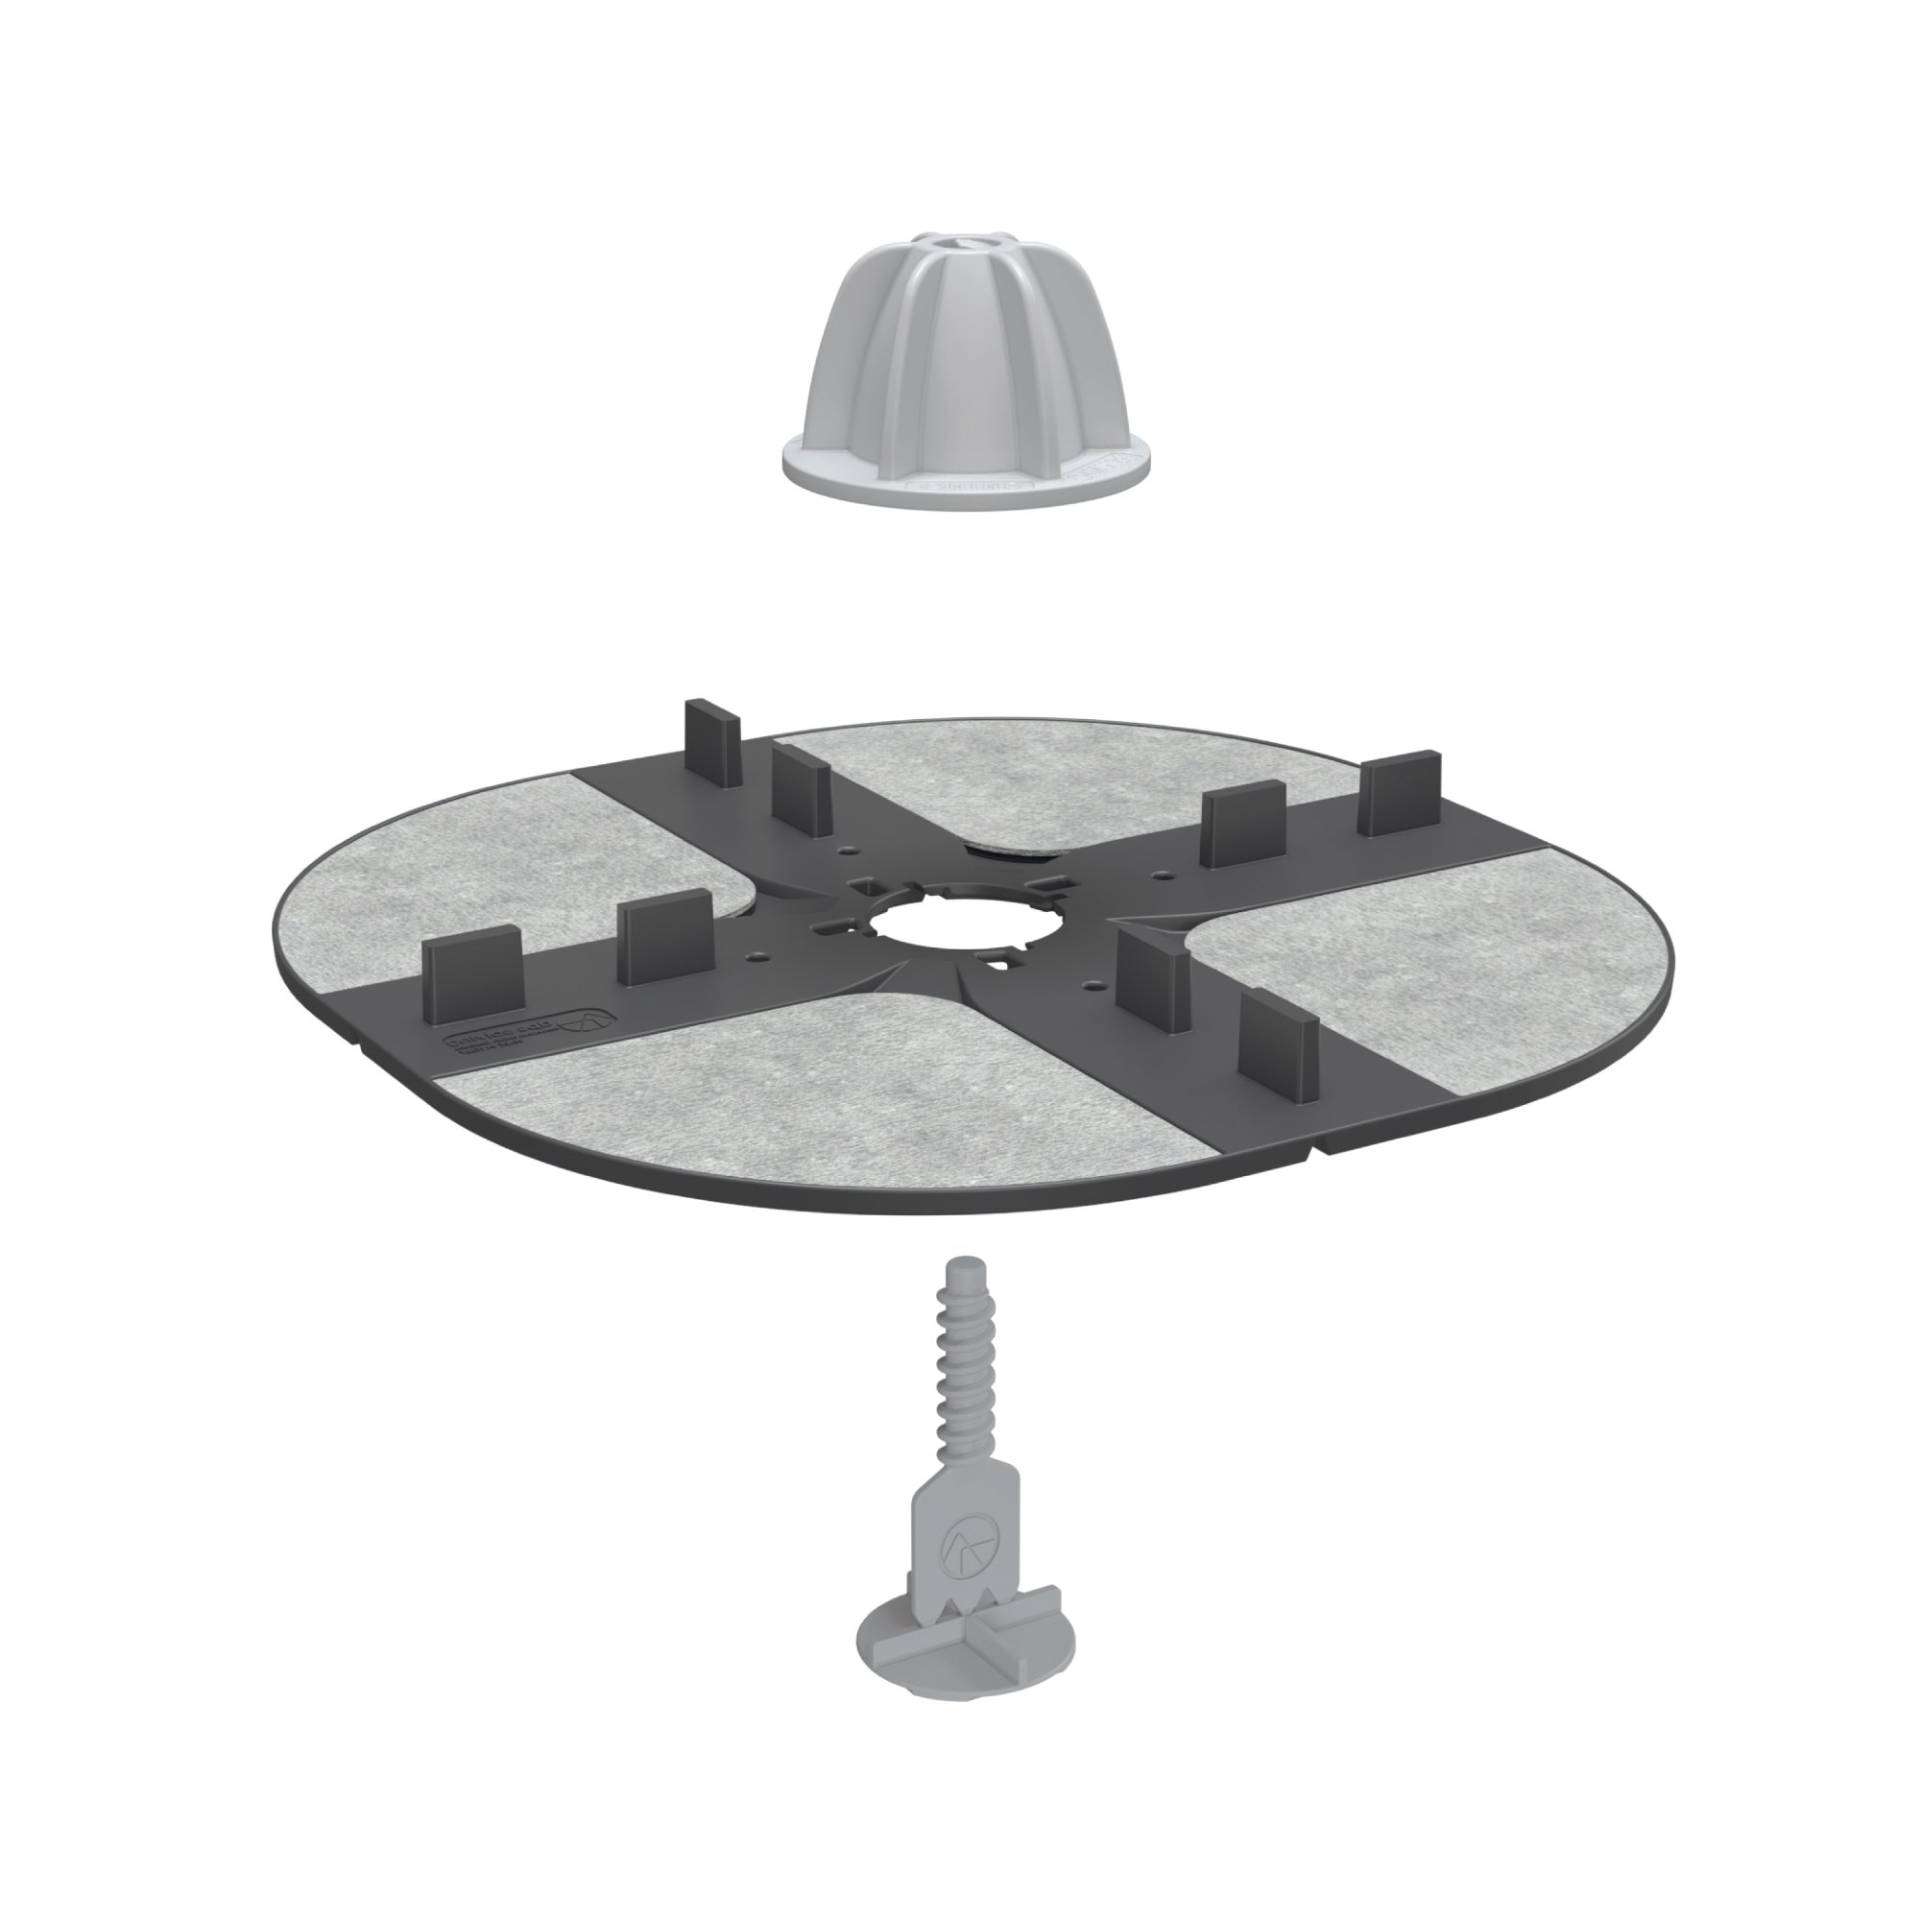
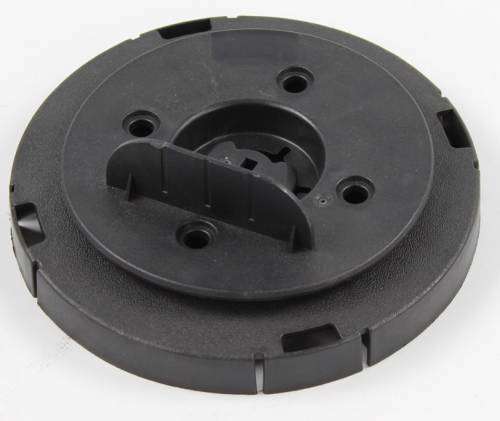
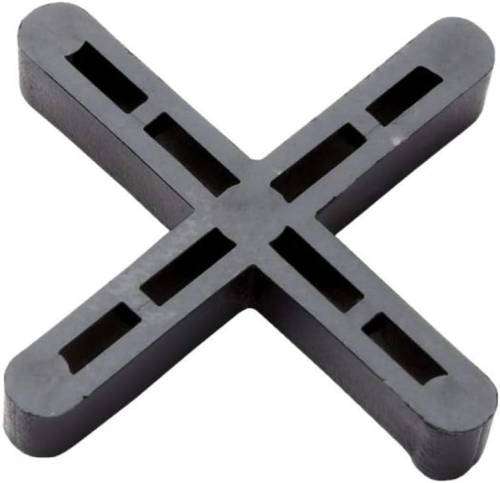
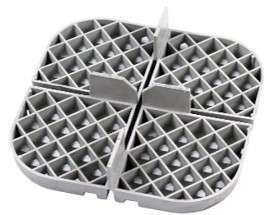
- Tap — the base pad. Its top has a fabric layer molded right into it, which gives outdoor adhesive something to grab onto. Built-in spacer tabs set even joints. Grooves let you cut it into halves or quarters with a utility knife for edges and corners.
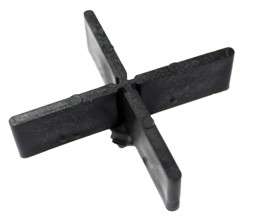
- Spike — drops through the center of the Tap and sits in the joint between slabs.
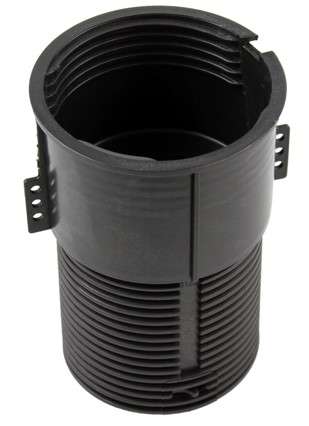
- Cup — screws down onto the Spike to clamp the slabs flat and level while the glue cures. Remove it afterward and reuse it on your next job.
- Lucky — a green shim that goes under the Tap to make up for small dips in the base. Snap off petals to fine-tune the height.
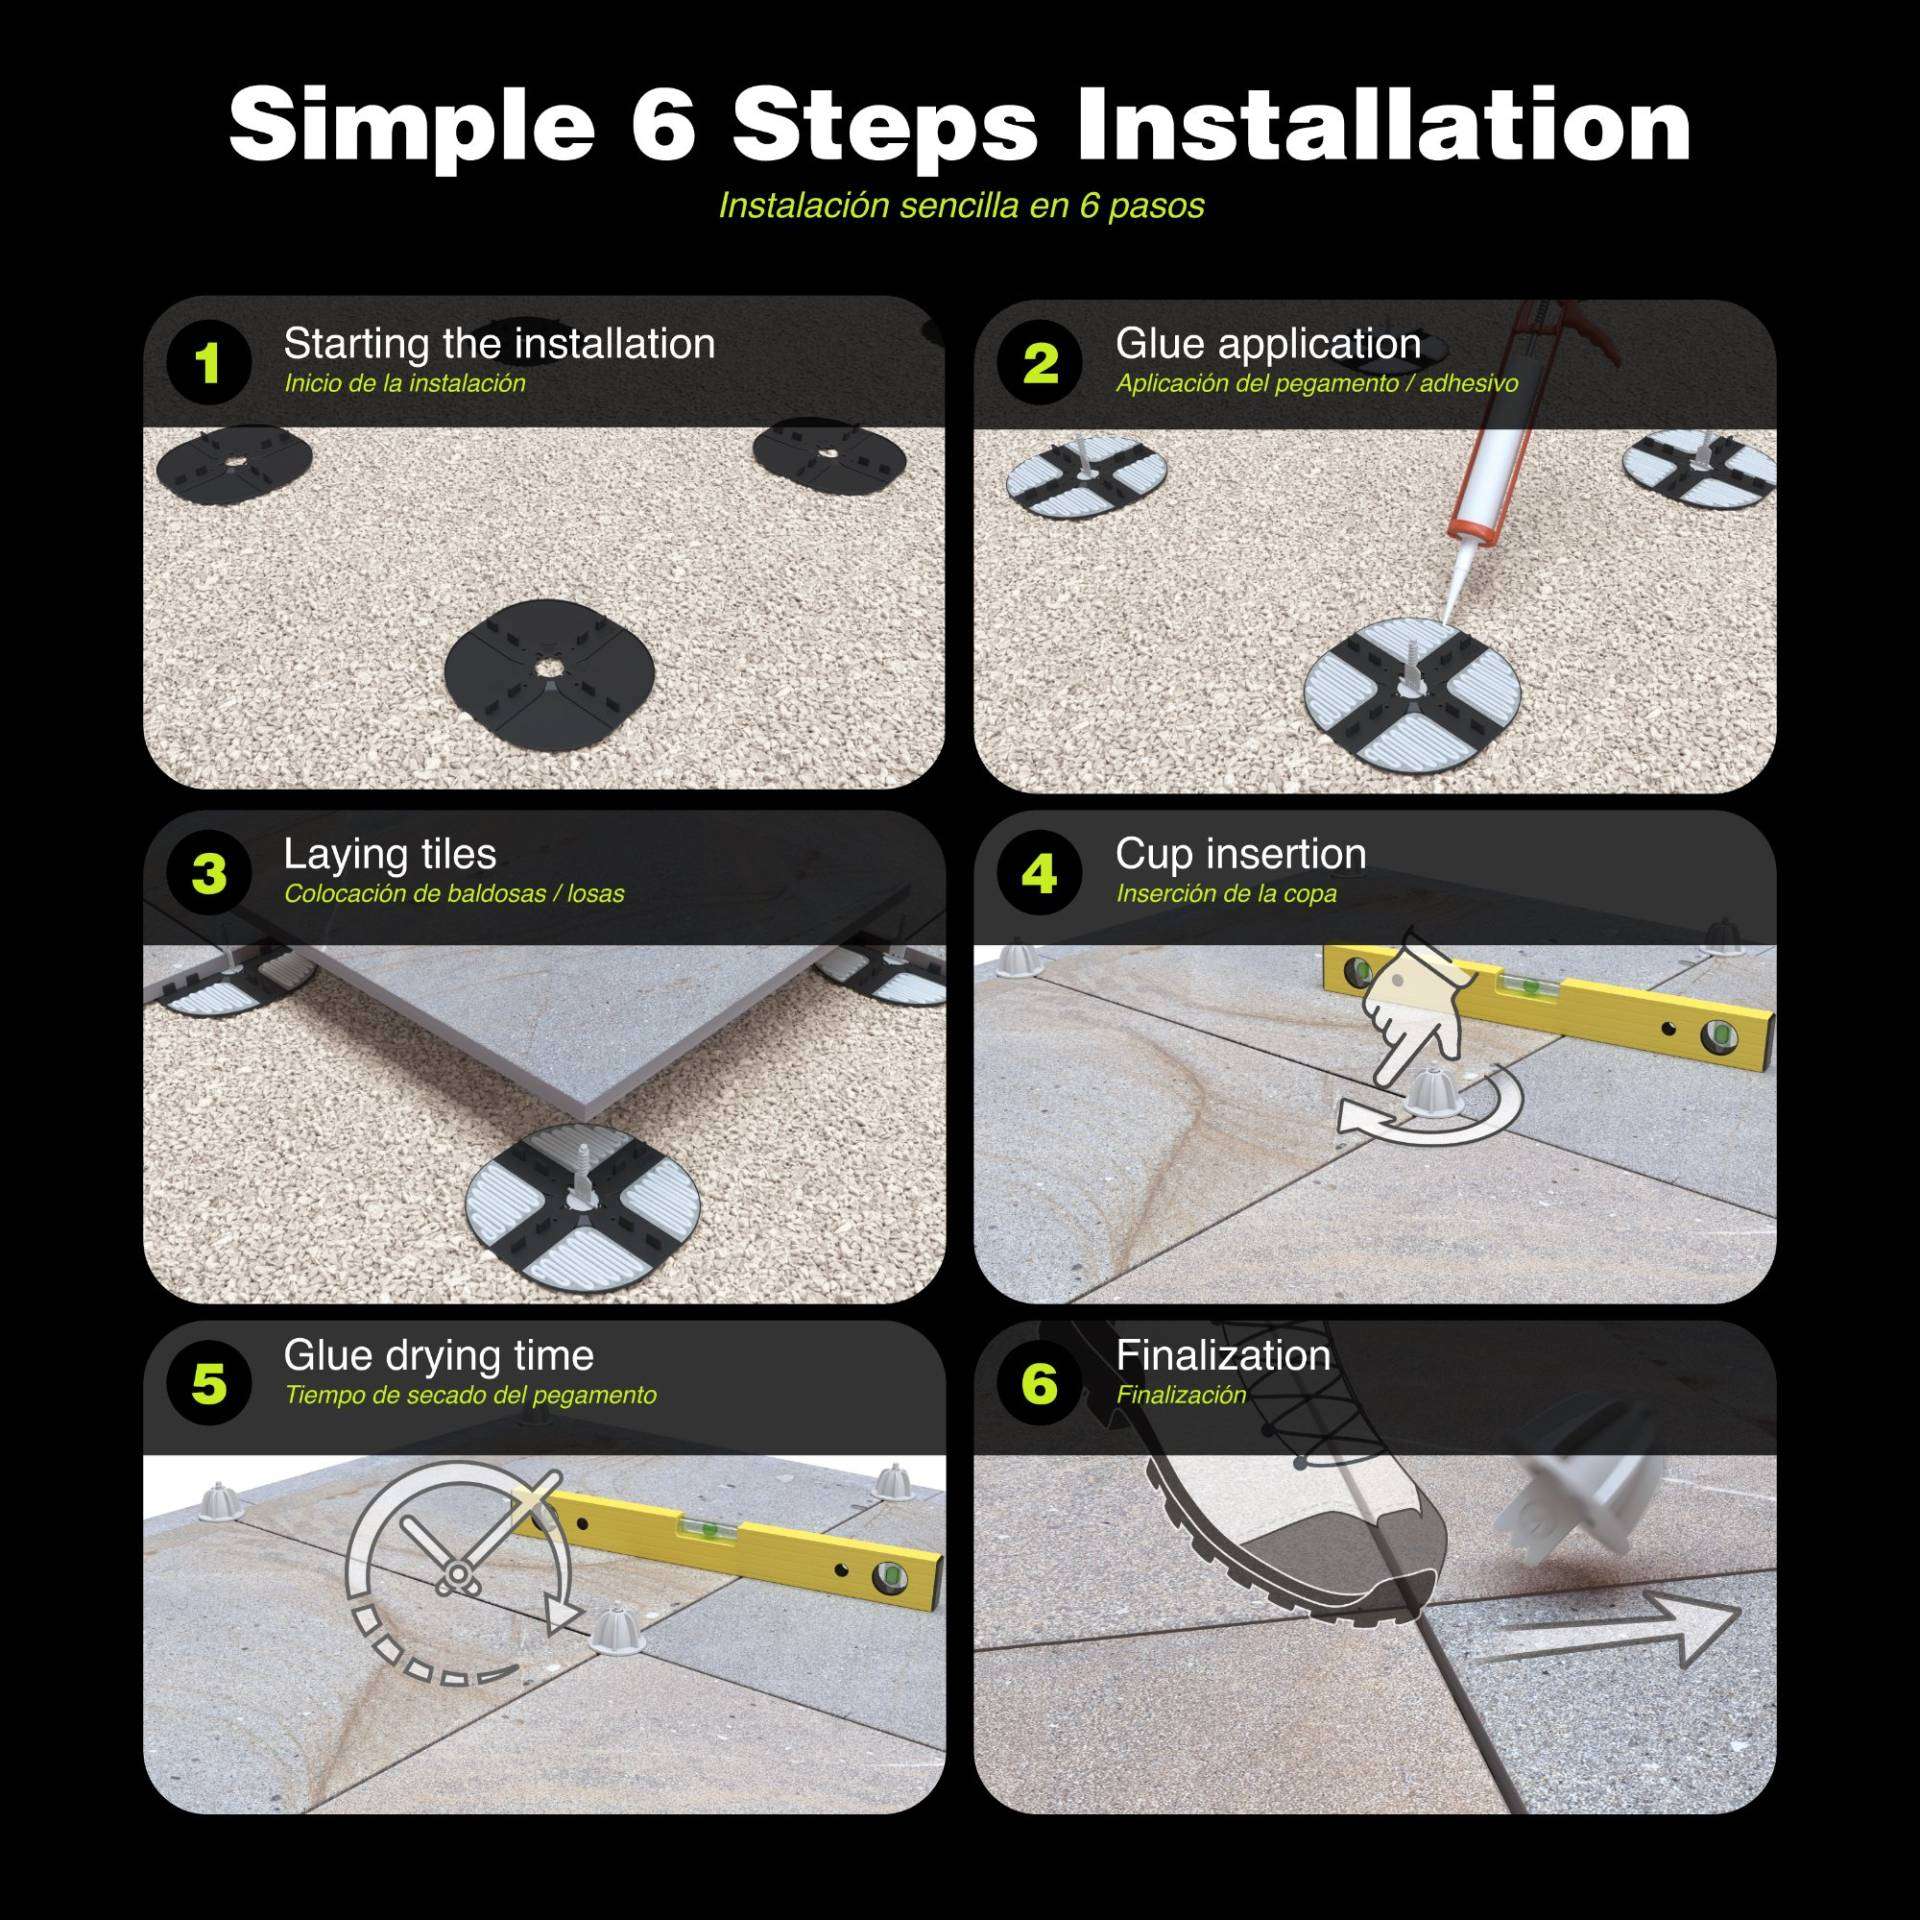
Install in 6 steps
- Lay out: Place Tap supports on the base where the slab corners will land and insert a Spike in each.
- Glue: Apply outdoor adhesive to the fabric areas of the Tap.
- Set the slabs: Lower slabs onto the supports. Keep glue off the spacer tabs.
- Lock with Cups: Screw a Cup onto each Spike until you feel resistance. Check level as you go.
- Let it cure: Follow your adhesive’s drying time.
- Finish: Pop out the Spikes, collect the Cups, and walk on your new floor.
What’s in the kit (Part # TKITSC4I)
- 50 Tap supports (4 mm)
- 50 Cups
- 50 Spikes
- 10 Lucky leveling shims (use as needed)
You’ll also need: outdoor tile adhesive (we recommend Boss 185), a level, and a utility knife for cutting perimeter supports.
Only logged in customers who have purchased this product may leave a review.





Reviews
There are no reviews yet.